macOS (EN)
In addition to e-mail, associated Microsoft 365 services such as Calendars, notes, etc. can be automatically synchronized.
Adding an account
Go to System Preferences › Internet Accounts.
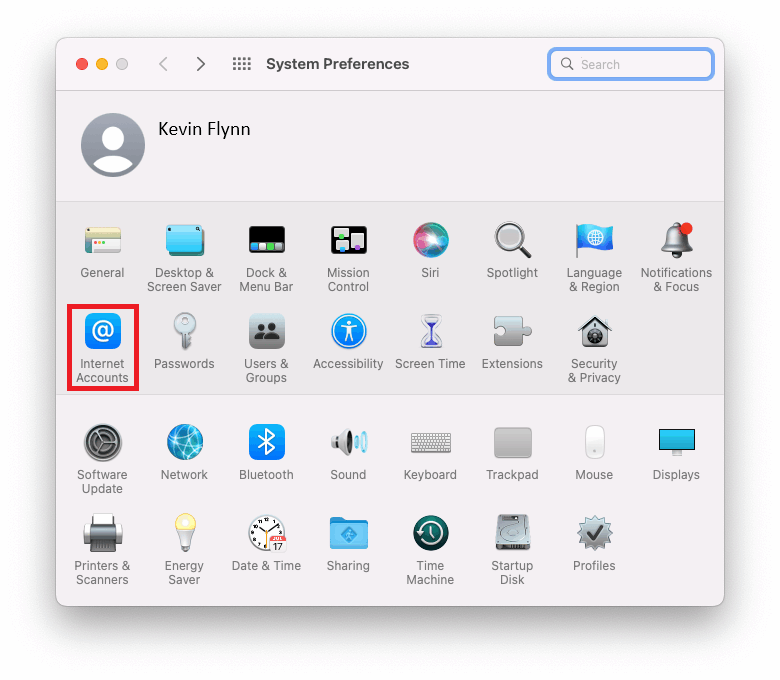
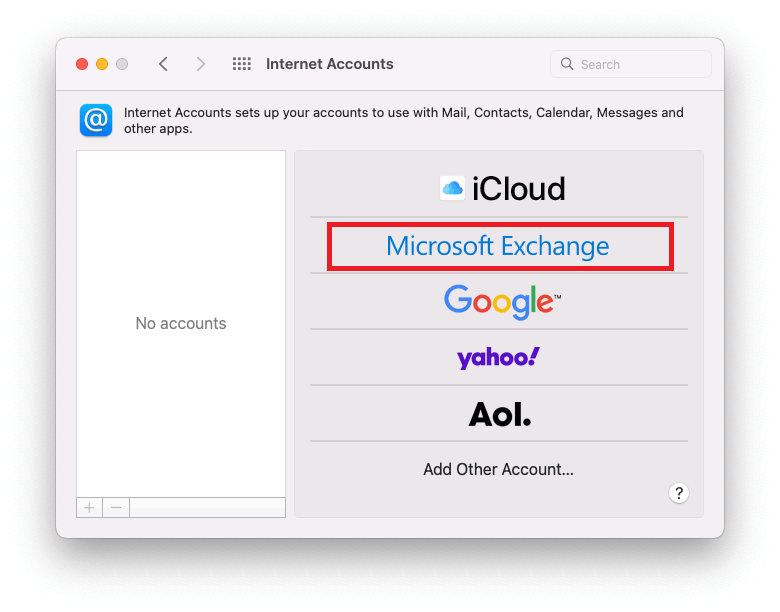
Select Microsoft Exchange.
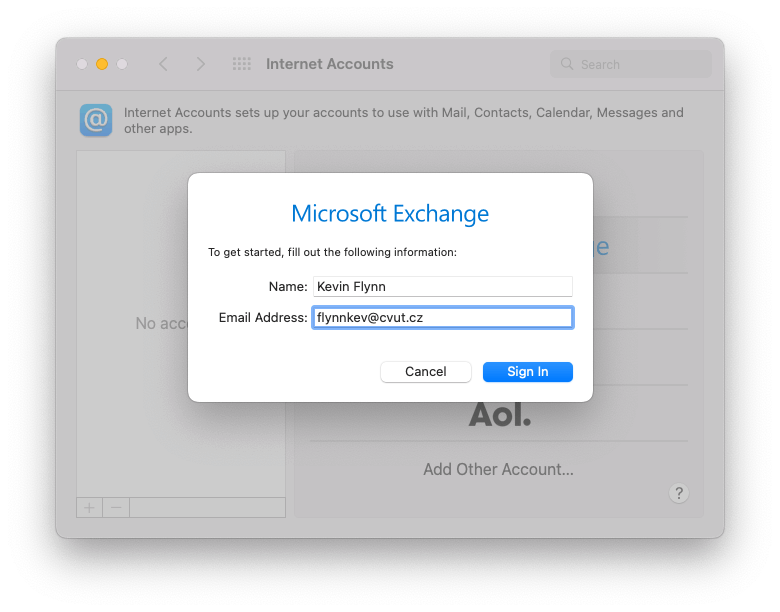
Fill in your name and select the Microsoft University Services login as your e-mail address in the form
<username>@cvut.cz.Continue Sign In.
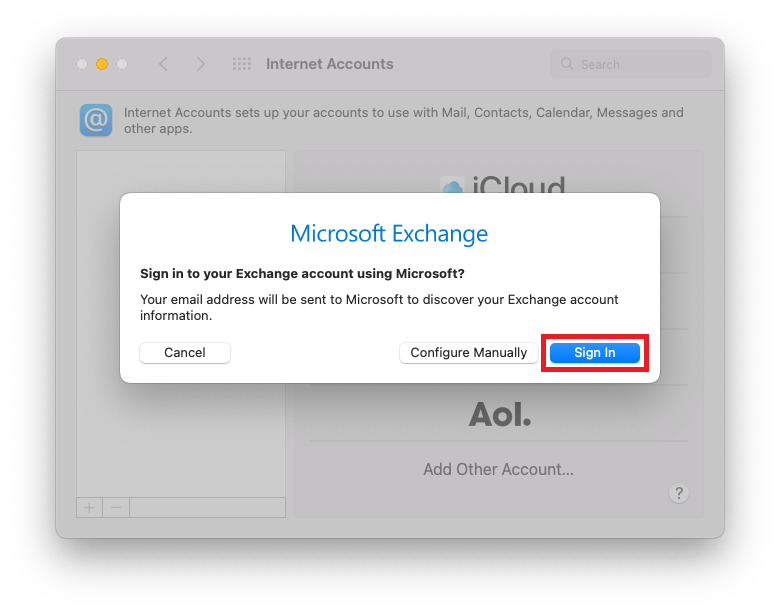
Continue Sign In.
Log in with
<username>@cvut.czand CTU password.[1] Continue Sign In.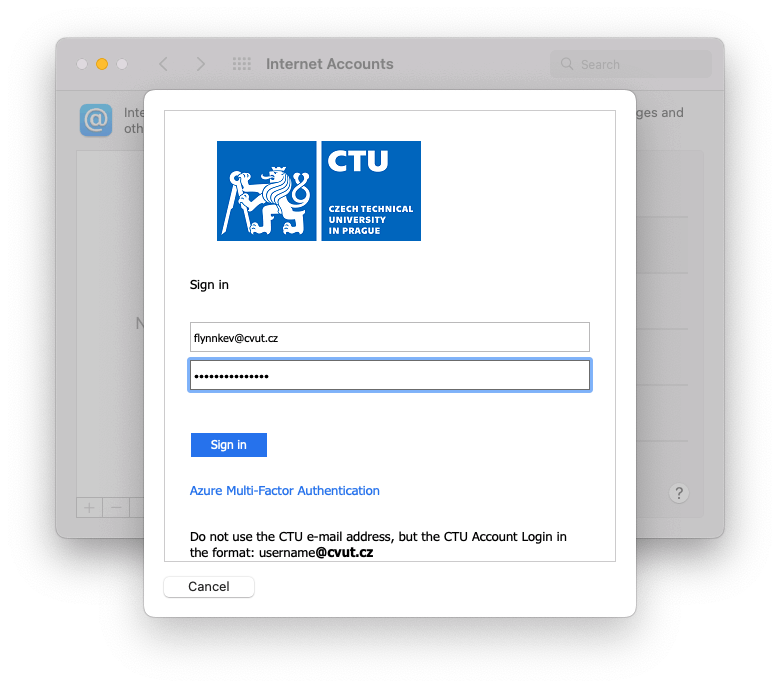
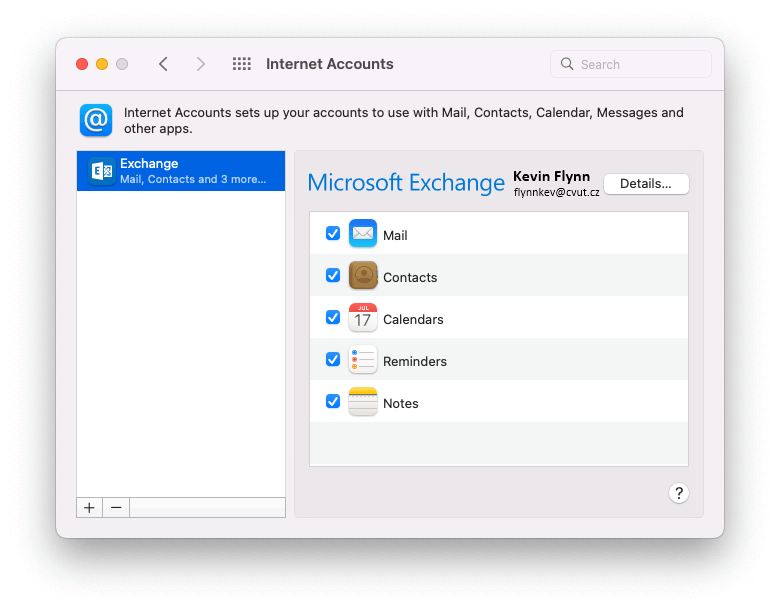
Select the services you wish to synchronize and confirm with Done.

The CTU account has been successfully added. You can continue by setting electronic signature/encryption.
Calendars, notes, etc.
If you have enabled synchronization of other services such as contacts, calendar, notes, etc. when you log in, these services are automatically available.
To view the CTU calendar, open the Calendar application. Then press Calendars in the top left corner to enable calendars from Exchange, see Figure 1.

Adding a certificate
To increase security of your e-mail correspondence, you can set up signing and encryption of messages by personal certificates.
If you have not already done so, first get your digital certificate. Proceed as follows.
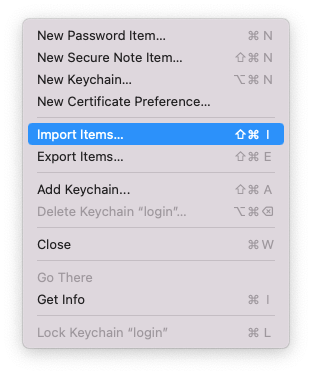
- Go to the Keychain application and import your digital certificate.
Right-click the desired account and select File › Import Items….
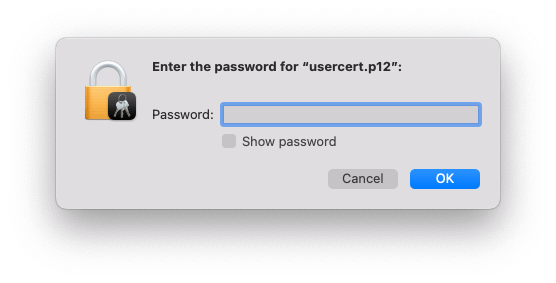
In the pop-up window, enter the password for your digital certificate.
After successful import, the certificate will appear in the list under the My Certificates tab. Right click on the certificate and select Information.
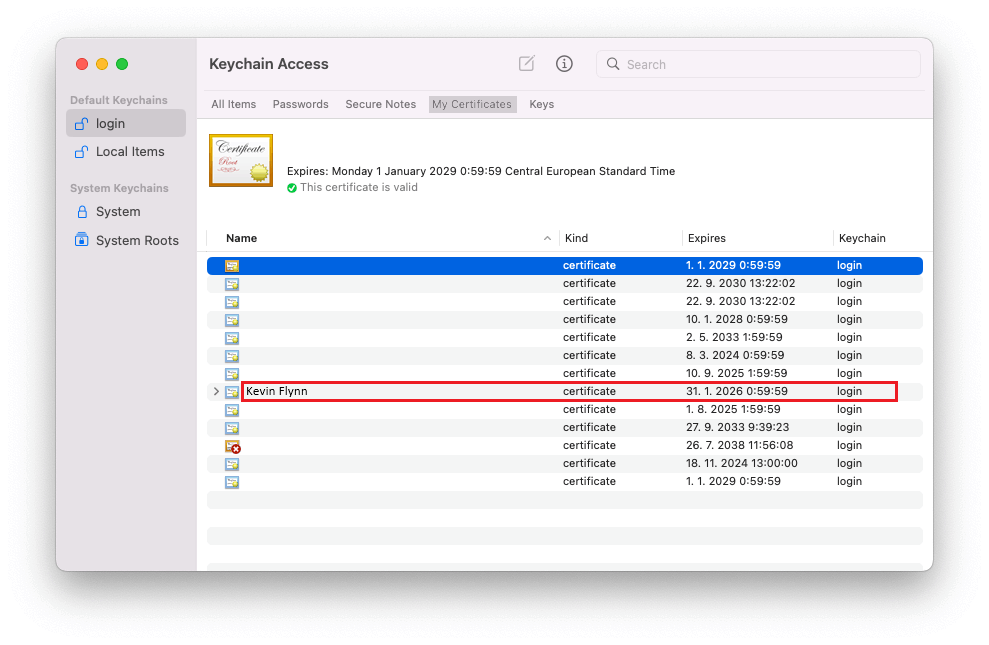
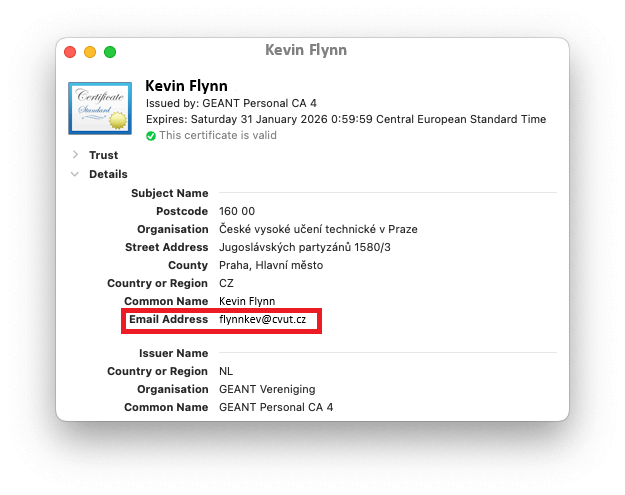
In the pop-up window, make sure that the E-mail address field contains the address from which you are sending mail in Mail (see the following steps to continue).
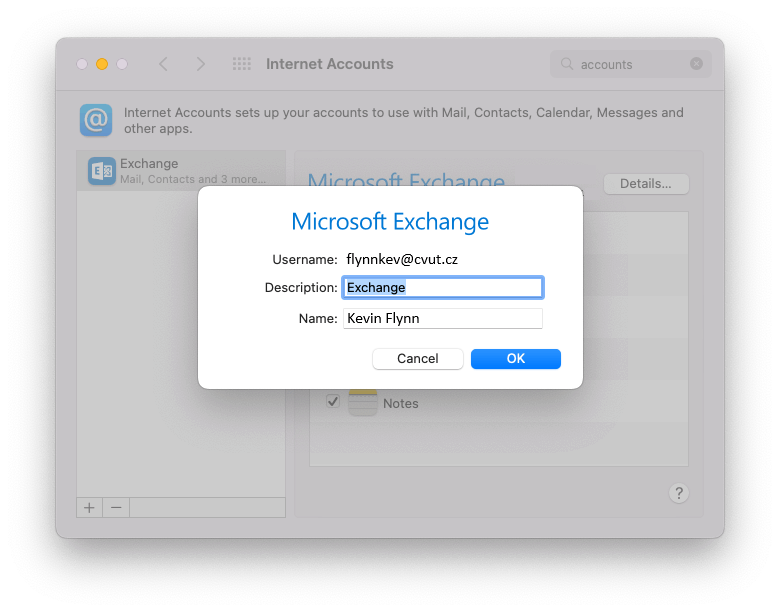
Go to System Preferences › Internet Accounts. Select your Exchange account and click Details…. If the address from step 5 does not appear in the pop-up window (see the image), add an account with the address to which the certificate was issued according to this manual.
Signing
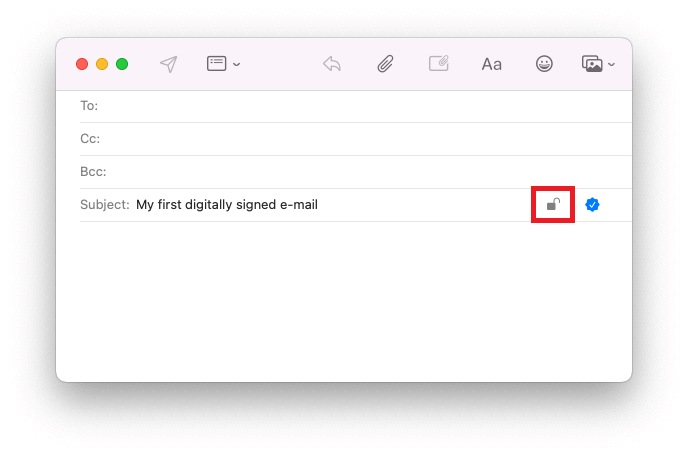
When creating a new e-mail message, select the e-mail to which the certificate was issued from the From menu (if the menu is visible). The digitally signed message icon will appear on the right side of the Subject field.

Encryption
Make sure you have the public key of the recipient(s) you want to encrypt the message for, see Keychain › Certificates. Otherwise, the message cannot be encrypted and the recipient’s public key must be obtained first.
To encrypt the message, check the lock icon (the addressee must be filled in).
- See Microsoft account ↩