macOS (EN)
Download the Mac_Universal_Driver.zip installation archive.
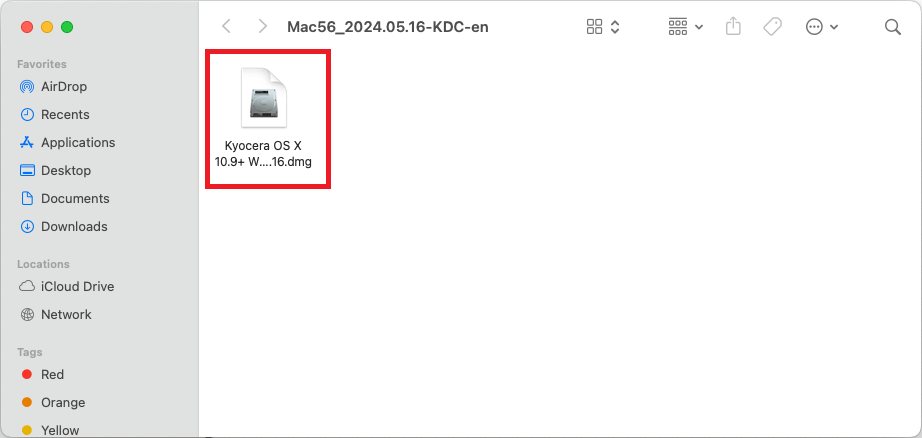
Open (Attach) the image (file with
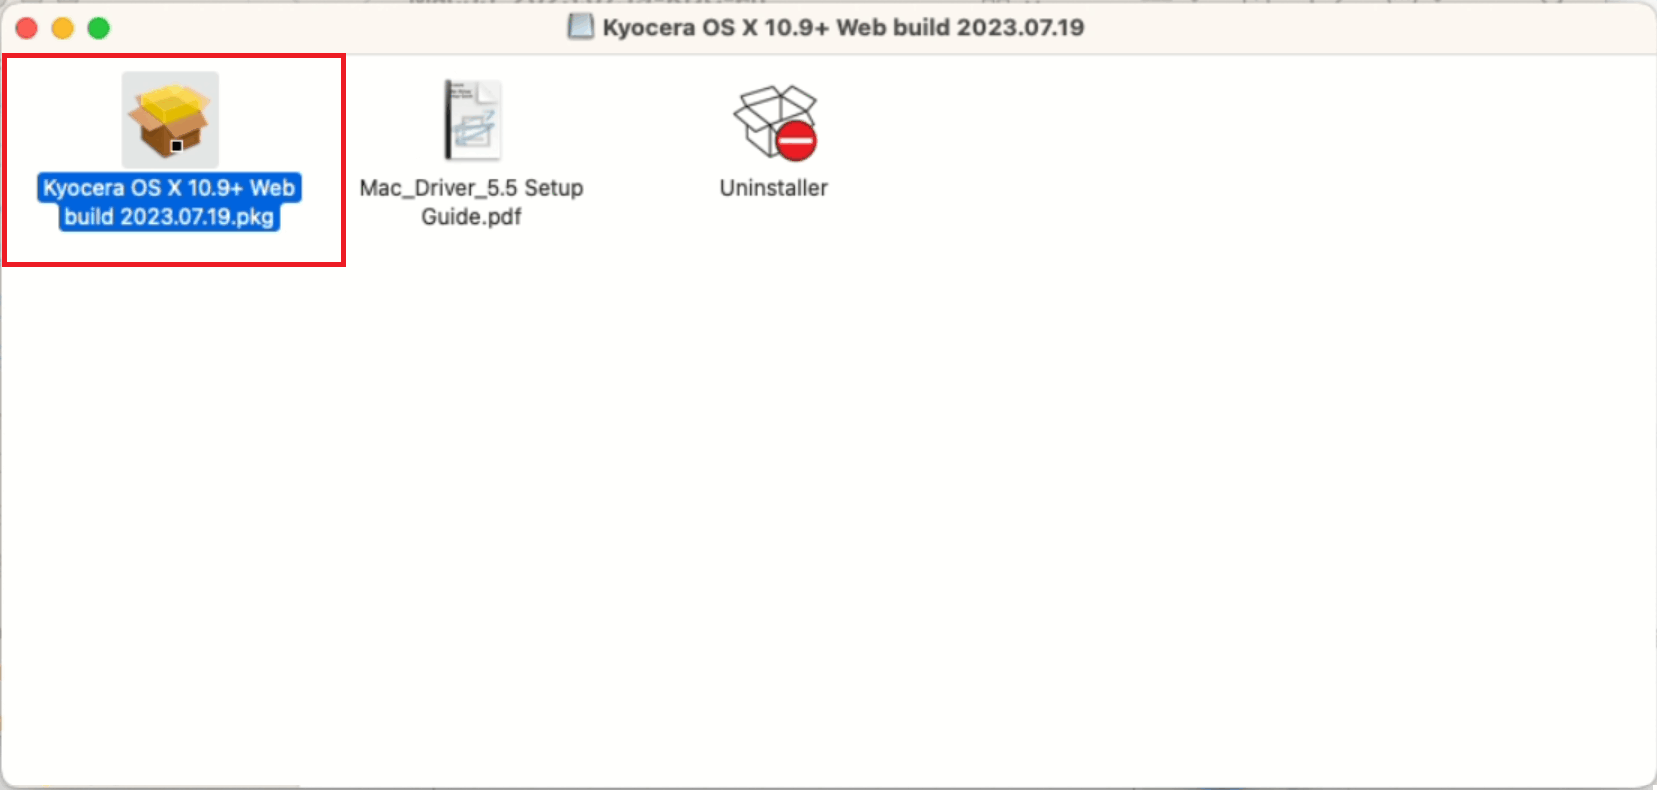
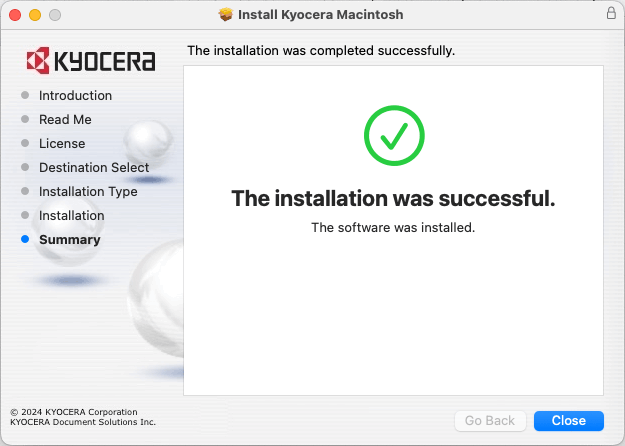
.dmgextension).Run the installer (
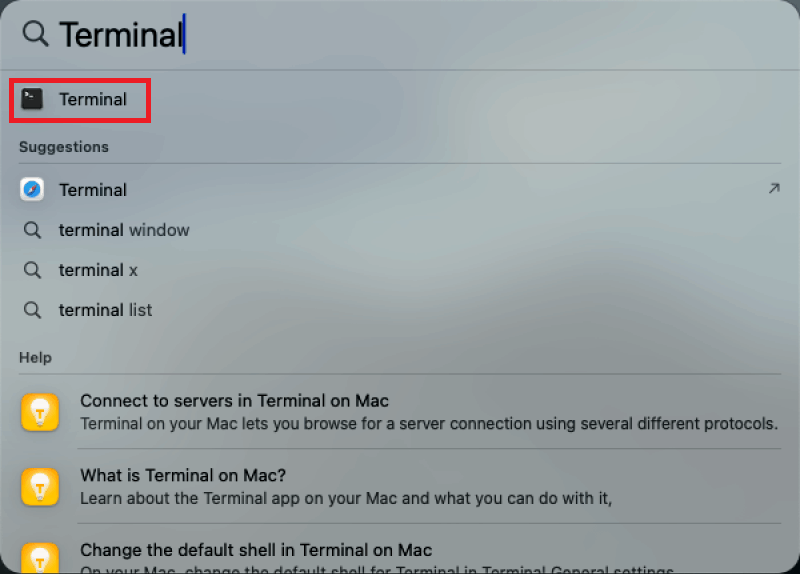
.pkgfile) and install the drivers.Launch the Terminal application (⌘ + Spacebar ⇒ Terminal).
Enter the following commands in the terminal:
<1> cupsctl WebInterface=yes <2> lpadmin -v lpd://print.fit.cvut.cz:515/fit -i /Library/Printers/PPDs/Contents/Resources/Kyocera\ TASKalfa\ 6053ci.PPD -D "FIT CTU printers" -L "FIT CTU" -p "PrintFIT" -E -o printer-is-shared=false -o ColorModel=Gray -o Option17=DF7130 -o Option21=True -o Option22=True <3> open /Applications/Kyocera\ Print\ Panel.app- Activates the web interface of the CUPS server (http://localhost:631)
- Installs the printer on your system
- Opens the Kyocera Print Panel application, which you can also do from the launchpad or spotlight ( ⌘ + Spacebar )
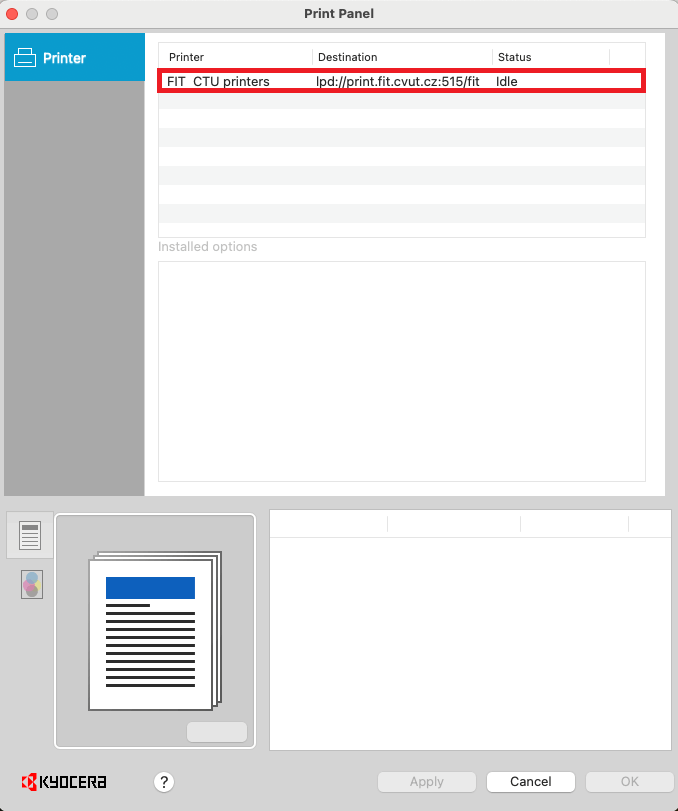
In the Kyocera Print Panel application, select FIT CTU printers.
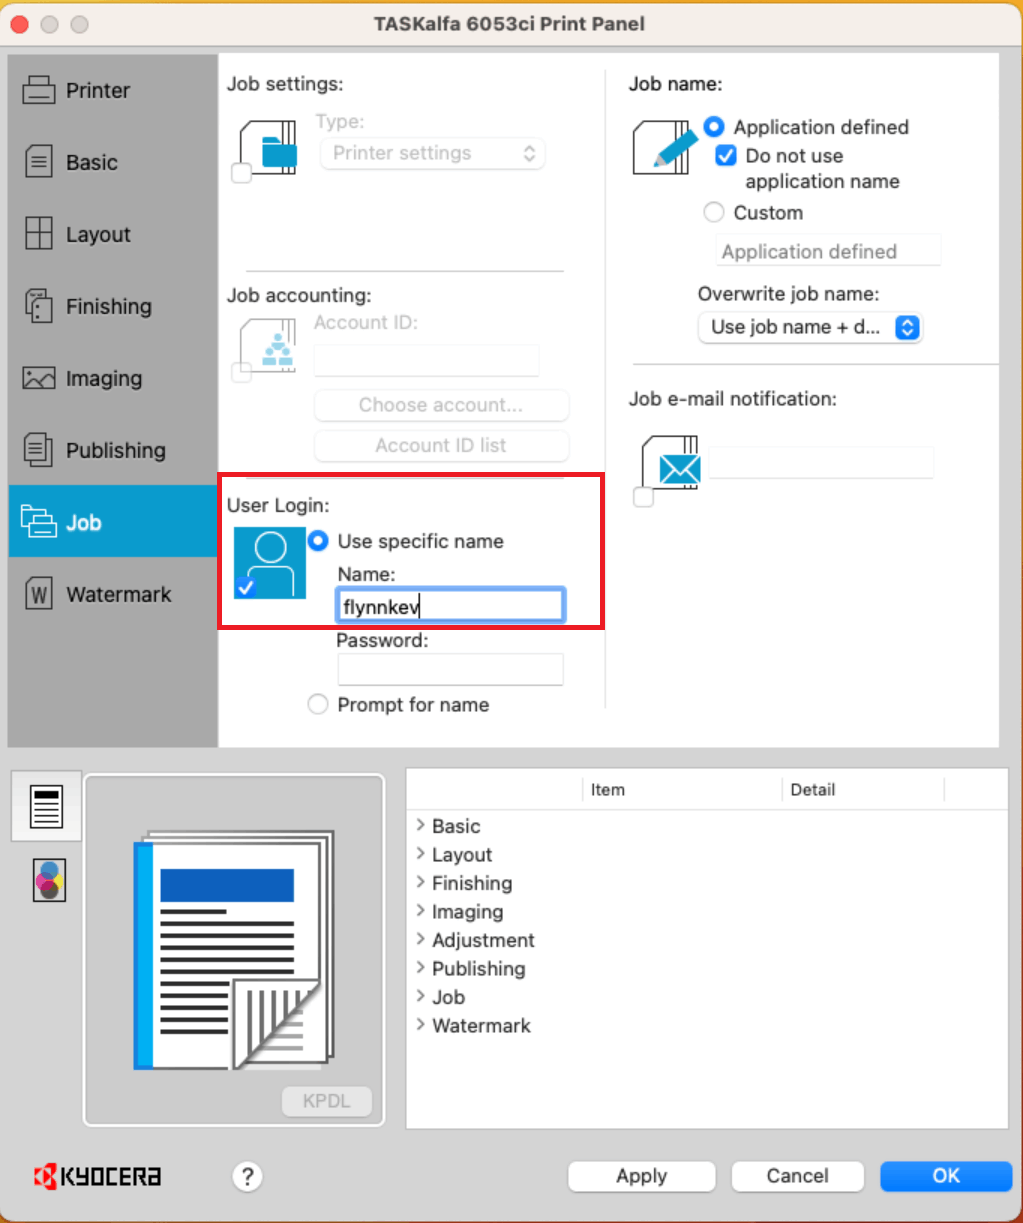
Select Job › User Login in the left panel and enter your CTU username in the Name text field.
- Confirm with the OK button and close the Terminal application.
The printer is now set up on your computer and can be used normally. When printing a document, select the
PrintFITprinter.The document is uploaded to the print server. To print, just go to any printer and authorize yourself.
